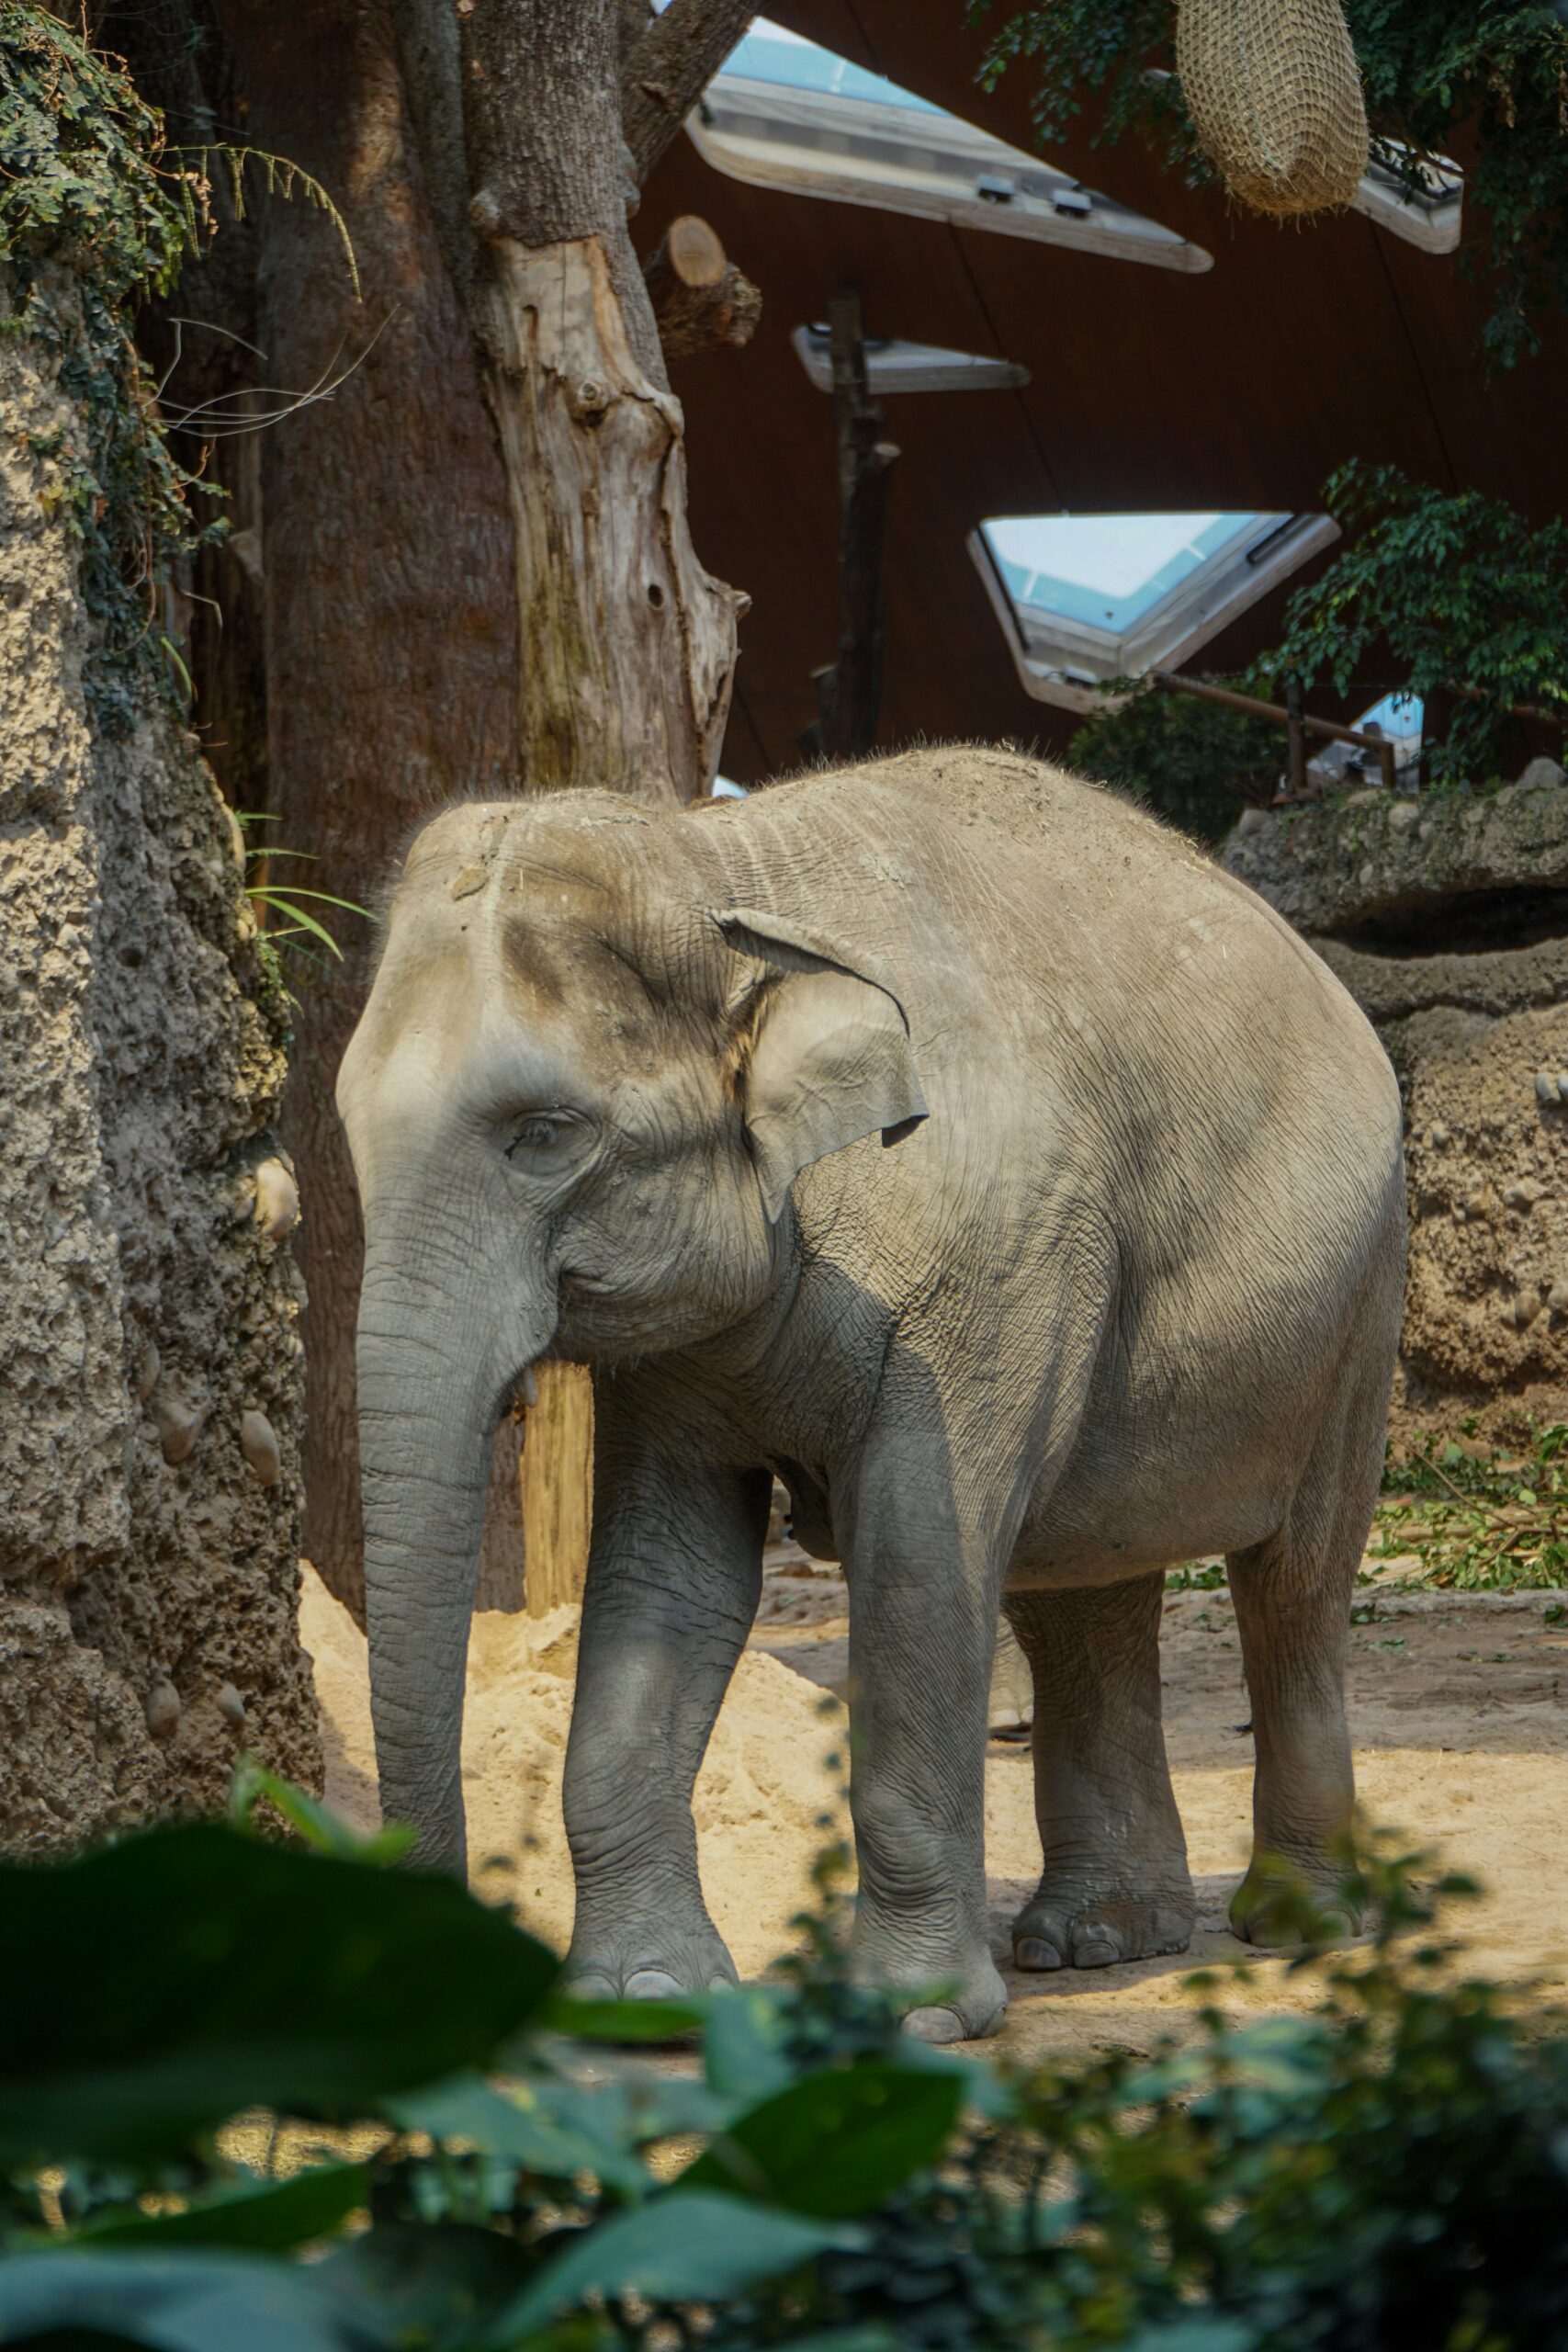
You do not need professional equipment to take beautiful safari photos. A few simple habits make a big difference, whether you shoot with a phone or a full camera kit.
Gear Basics
- Zoom lens: 200 to 400 mm lets you capture animals without getting too close.
- Phone: use the zoom, but move closer by asking your guide to reposition rather than relying on digital zoom.
- Extra batteries and cards: you will take more photos than you expect, and charging points may be limited in camp.
- Beanbag or soft cushion: to steady the camera on the window or roof of the vehicle.
- Lens cloth and dust cover: dust is part of the experience.
Light and Timing
The best light is in the first and last two hours of the day, when the sun is low and warm. Wildlife is also most active then. Midday light is harsh, so use that time for resting, birds in the shade, or close-ups of texture and detail.
Camera Settings
- Shoot in a fast shutter speed (1/1000 s or faster for moving animals).
- Use continuous autofocus and burst mode.
- Choose aperture priority with a wide aperture to blur the background.
- Expose for the animal, and watch for bright skies.
Composition Ideas
- Focus on the eyes. If the eyes are sharp, the photo works.
- Include some habitat, such as acacia trees, grass or a Kilimanjaro backdrop.
- Capture behaviour, such as playing cubs, a hunting pose, or a mother elephant with a calf.
- Try low angles and silhouettes at sunset.
Shooting From the Vehicle
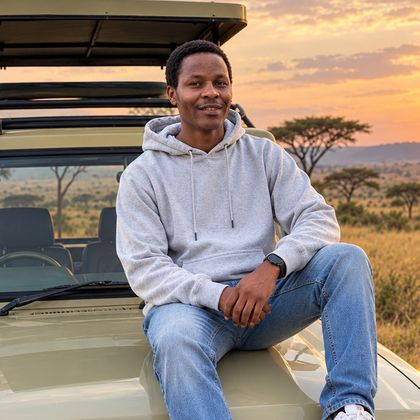
Turn off the engine for the sharpest photos, since vibrations blur images. Ask your guide to position the vehicle so the light is behind you. Stay seated and quiet, and keep arms inside the vehicle at all times.
Respect the Wildlife
- Never use flash on animals.
- Do not ask guides to drive too close or off the track.
- Leave animals undisturbed, whatever the photo.
We can arrange photo-friendly itineraries with extra time at sightings. Message us on WhatsApp +254 794 588 242.